

DIY Apple Cider Vinegar Recipe {Apple Cider Vinegar Health Benefits}
Apple cider vinegar is highly regarded as one of the best tools in your cooking arsenal. However, many are intimidated by the process of actually making apple cider vinegar at home. Many opt to head to the grocery store and grab a bottle. However, if you make it at home, you’ll set yourself up to reap all of the apple cider vinegar health benefits in the cheapest way possible. And who doesn’t like saving money?
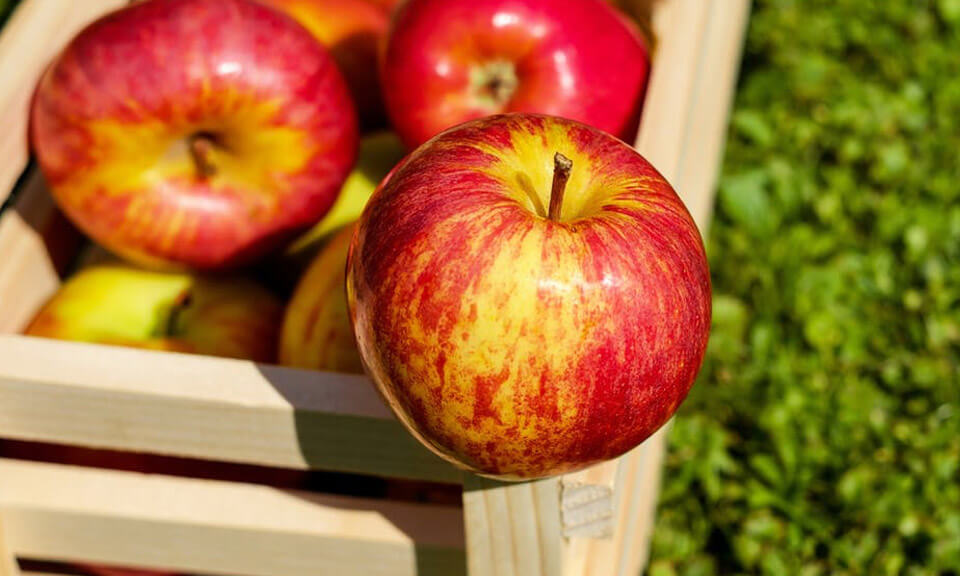
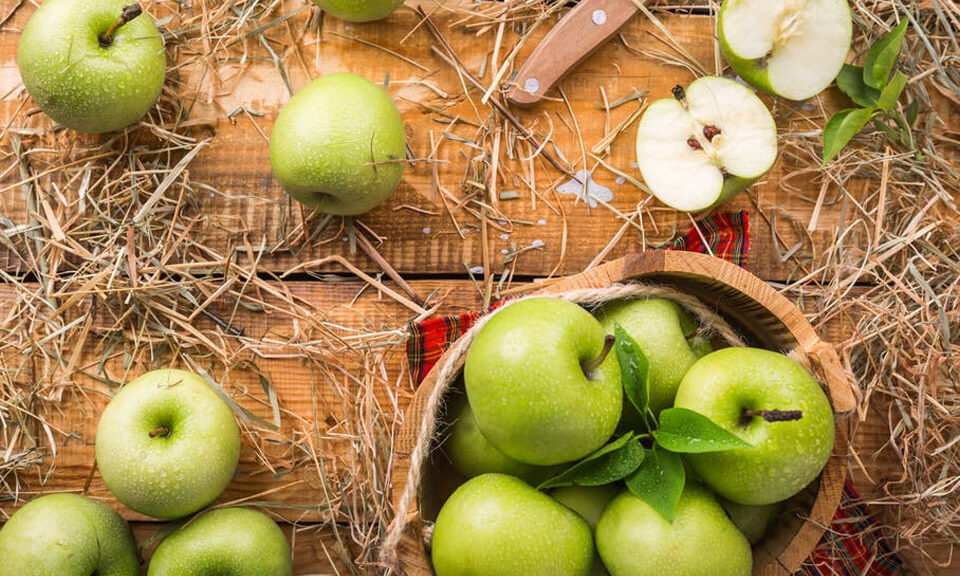
When the seasons change from summer to fall, it’s time to start picking some apples. There are a plethora of amazing and creative things to do once you have a big basket of any of the many varieties to choose from. After all the apple pies, apple sauce, and apple butter is made, as well as the ones canned for winter; what will you do with excess the parts left over? Even if you used all the apples that you bought or picked, you will still have plenty of useful apple parts left over.
It’s time to find a way to use those other parts of the apple you haven’t considered yet.
Most people choose to peel their apples when preparing apple sauce or pies. All those peels will wind up in either the trash, or preferably, a compost pile. However, it is possible to use those surplus pieces to make apple cider vinegar. Apple cider vinegar is easily made from all parts of the apple and can be stored for use all year round. Another bonus is that no waste is created from using all parts.
When preparing apple sauce or pie filling for canning, peels and cores are left over as a byproduct. These leftovers can make a great batch of vinegar along with the delightful treats. If you don’t harvest enough apples at once to prepare a sizable batch of vinegar at that moment; the excess pieces can be stored via plastic bag in the freezer until you are ready to use them.
You can find apples for use in nearby orchards. If there aren’t any local orchards, check at local farmers’ markets. Make sure to wash your apples before peeling them to ensure that the peel is in good condition and free of pesticides.
What are the benefits of apple cider vinegar?
Apple cider vinegar is great for health if used properly. The fermentation process provides high levels of potassium, calcium, phosphorus, and magnesium; which are important parts of everyday dietary needs.
How does apple cider vinegar aid indigestion and heartburn?

One of the biggest apple cider health benefits is Digestion. Despite apple cider vinegar being an acid, it is still helpful in combating heartburn and indigestion. Even though it feels as if you are experiencing excess acid, heartburn is typically caused by a lower level of acid in the stomach. This lower level hinders digestion which can be a major problem. Hindered digestion creates an increase in gases in the stomach; which when combined with the undigested food in the stomach can cause the stomach acid to back up into the esophagus. This backed up acid thus causes the feeling of heartburn. By ingesting apple cider vinegar, you will increase the acid levels in your stomach which will help with digestion going forward. The vinegar acts as a natural cure for the heartburn and indigestion.
Does apple cider vinegar benefit the skin?

While this vinegar works positively to help aid indigestion when taken internally, you can also use it externally with remarkable results as well. Adding some apple cider vinegar to your bathtub can help your body naturally re-balance your skin’s pH level, making it a healthy way to take care of your skin. This bath additive can also help to clear up any lingering bacteria and fungi you may have encountered in your daily life. It can also help with dandruff; if you submerge your head and hair into the bath water. Be sure to give it a try.
How may homemade cider better than what you might get from the store?

If you look at the label of the cider you might purchase at your local store, you’ll notice something interesting. The label will say that the cider is “filtered and pasteurized”. This may sound like a promising idea for a bottle you are buying at the store, but you’ll find that while one can still get great benefits from pasteurized cider. You will not get the same benefits from the cider as you might get with cooking or using it to help with digestion concerns. You can find ciders that are not filtered or pasteurized, but they are much rarer in stores.
Notes on making apple cider vinegar:
The recipe will call for sugar, but honey is a decent alternative. Regardless of what you may use, the sugars will not influence your blood sugar. Make sure that your equipment is extremely clean, especially your storage jars. Also, be sure to use a variety of apples when you make your cider to ensure a strong mix of flavors. You may notice a layer of a white scum on the top of the cider. This is natural, but be wary of mold as this will mean there is a problem with the process. Keeping the apples submerged will prevent mold, and tightly sealed jars will deter gnats and flies.
Let’s get started!
- Supplies you will need:
- Clean jar or jars depending on how much you are making
- Apple scraps (fill jar three-fourths of the way full)
- Cane sugar
- Filtered water
- Fermentation weight
- A filter (coffee filter or cheesecloth)
- Rubber band
The recipe for apple cider vinegar:
All you need for this recipe is your apple scraps and some time, so let’s give it a try.
Ingredients:
- Apple scraps
- Filtered water
- Cane sugar
Directions
- Make sure that your jars are very well cleaned, and dry.
- Fill jar three-fourths of the way full of pieces of apple. Make sure the pieces are chopped rather than whole.
- Dissolve one tablespoon of sugar into one cup of water. Adjusting the quantity to fill the jar. (Make sure that the apples are completely covered with the sugar water before you continue.)
- Pour the sugar water over the apples until they are covered.
- Weigh down the apples so that they do not float with a fermentation weight, or with a smaller jar that will make sure the apples stay submerged.
- Cover the jar with your filter securing it with a rubber band to keep it free from any bugs.
- Store the jar in a dark location that is consistently at room temperature. A kitchen cabinet is a great option.
- This process will take up to three weeks, but be sure to check in on your apple cider vinegar every few days; making sure that you are not having issues with floating apple pieces or mold.
- After three weeks, you will notice that the mixture will still smell sweet, that’s due to the apple pieces in the jar. Filter out the apple pieces and compost them. Then you can return the fluid to the jar.
- Cover the jar again and place it back on the shelf for 3 to 4 weeks. Be sure to stir the contents of the jar every few days to prevent it from settling.
- Continue to test the apple cider vinegar until it reaches the tartness level that you like best. At this point, you can transfer it to another jar with a lid you can secure. Enjoy your homemade apple cider vinegar!
Are you ready to give it a try?

Now that you have the steps and know how to process your own apple cider vinegar, it’s time to decide if you are ready to give it a try. Be sure that you have all your supplies ready to go, and keep aware of where you will store the jars while you wait for your apples to go through the process. The process is well worth the wait, producing useful apple cider vinegar. Hopefully, you have noticed the process is simple if you keep track of the time frame for your cider as it transforms in the darkened space where you have stored it.
Start experiencing apple cider vinegar health benefits, today!
When you make food and beverages using apples, why not make use of the entire apple? This is a wonderful way to make a fantastic product for your own personal use at home, as well as a gift for friends. Not only can you adjust the cider to the tartness that you like best, but you will also notice the superb health benefits of using your homemade cider today.


